This is by far one of the best eggs and potatoes dishes in Greek cuisine. It is also one of the simplest and quickest.
You fry a bunch of potatoes. Not until crunchy, but until cooked through with a light crispness and still a bit soft.
You beat some eggs in a bowl.
You add olive oil in a large frying pan and throw in the fried potatoes.
You add the eggs, that will cook in no time and all around the potatoes as you toss everything together, creating a frittata of sorts. Not scrambled eggs.
You sprinkle with black pepper and sea salt and you dig in.
You’re welcome.


Greek eggs with potatoes (Avga me patates)
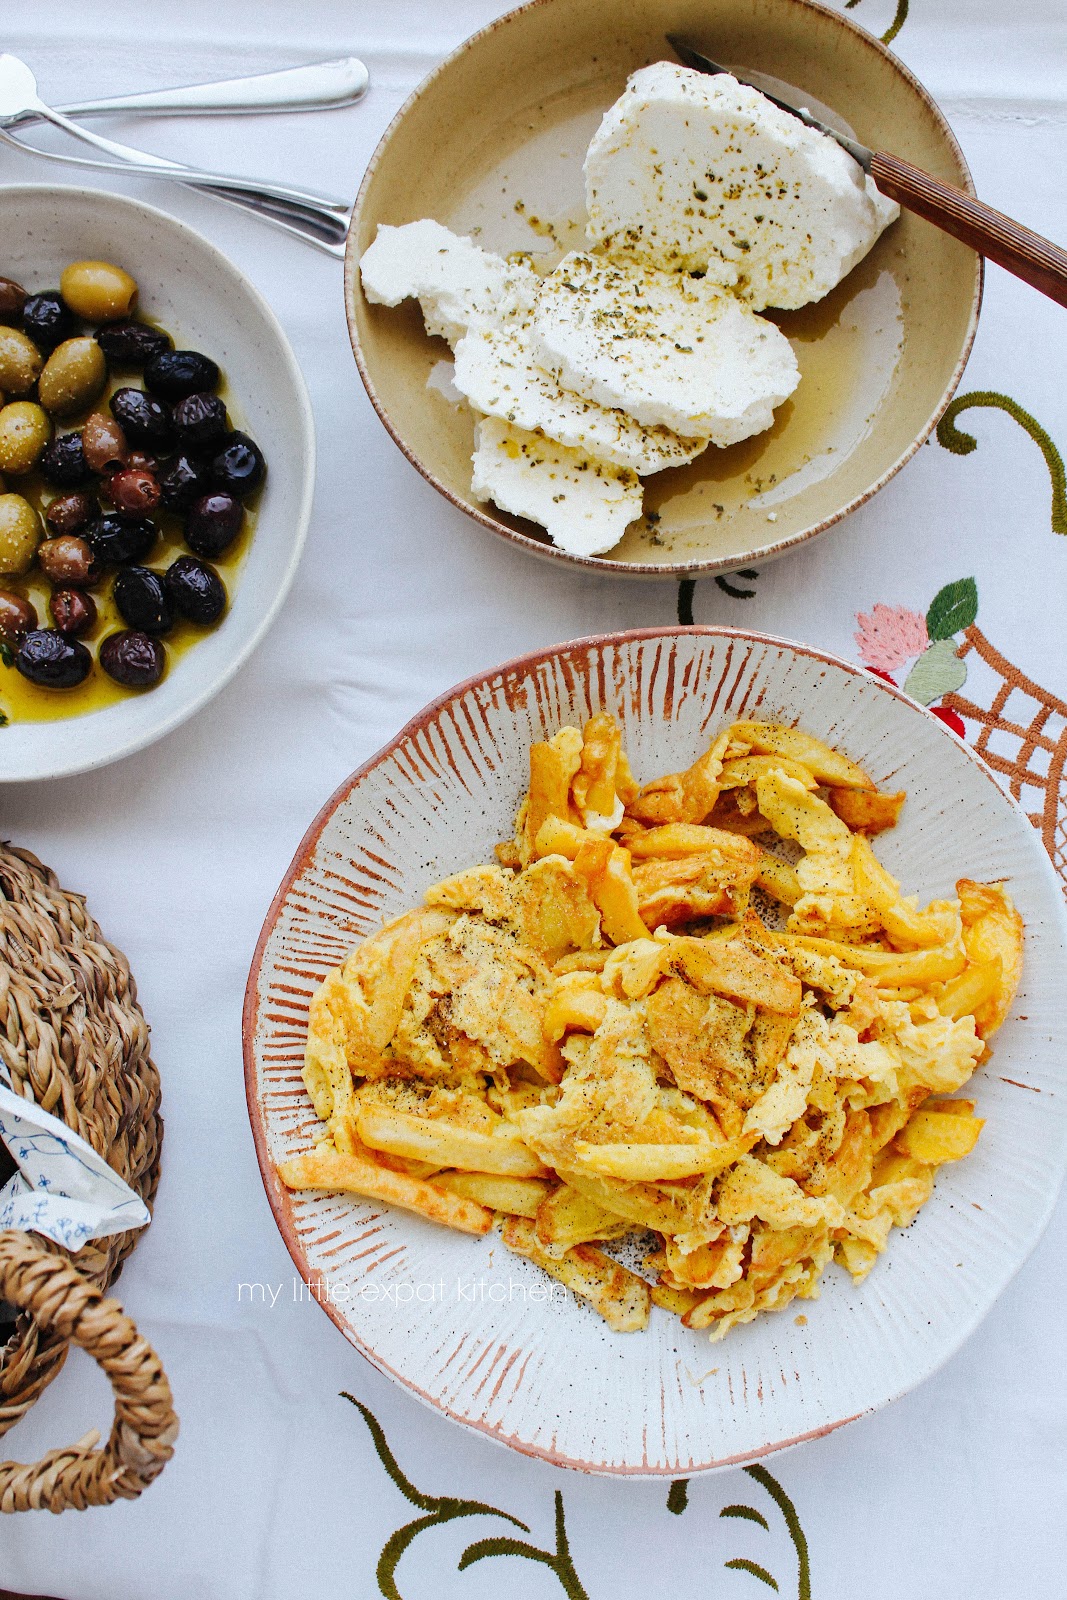
This is not scrambled eggs with potatoes, and it’s not an omelette. It’s not a solid mix of the two ingredients. It is their marriage in the pan, harmonious and symmetrical.
The two ingredients embrace each other and become one, while maintaining their uniqueness. The eggs surround the potatoes, caress them, with a few big and juicy pieces wandering around in the pan away from them.
The potatoes should be soft, not crunchy, the eggs slippery and moist, with the olive oil marrying the two and the salt and pepper flavoring them.
Yield: 2 generous servings
Ingredients
3-4 large potatoes (I prefer the floury kind for fried potatoes)
Olive oil (or sunflower oil if you prefer it) for frying the potatoes
5 large eggs
2 Tbsp olive oil
Sea salt
Black pepper
Preparation
Peel the potatoes. Rinse them under cold water and cut them the classic French fries style. Rinse them again and leave in a colander to drain while you heat the oil.
In a wide and deep frying pan, add enough olive oil (or sunflower oil) to fill it by half. The oil should be enough for the potatoes to be completely immersed in it while frying. Heat the oil over medium heat until it starts to shimmer. It should be about 175°C if you’re using a thermometer. You can also test if it’s ready by dropping a potato in it. If the oil bubbles, then it’s ready. Be careful though. If the oil foams up vigorously, the oil is too hot. Lower the heat for a minute and test again.
Add the potatoes and fry over a medium heat until they become light golden with a nice crispy crust but not crunchy and deeply golden. You want them to have a soft-ish texture for this dish. They should be fully cooked though, not par-cooked.
Remove the potatoes from the pan with a slotted spoon and place them in a bowl.
While the potatoes are frying, break the eggs lightly in another bowl using a fork, mixing them with some salt and pepper.
In a large, wide frying pan (28-30 cm in diameter), add the 2 Tbsp of olive oil and heat over a medium high heat. When it starts to shimmer, add the potatoes and spread them evenly in the pan. Immediately pour the eggs all over the potatoes. Wait for 10 seconds and then start to gently toss everything around using a heatproof spatula in order to mix the eggs with the potatoes. As the eggs start to cook, continue gently tossing, not breaking up the eggs completely. Do not overmix the eggs. You want big and smaller pieces of egg cooked all around the potatoes, not scrambled eggs.
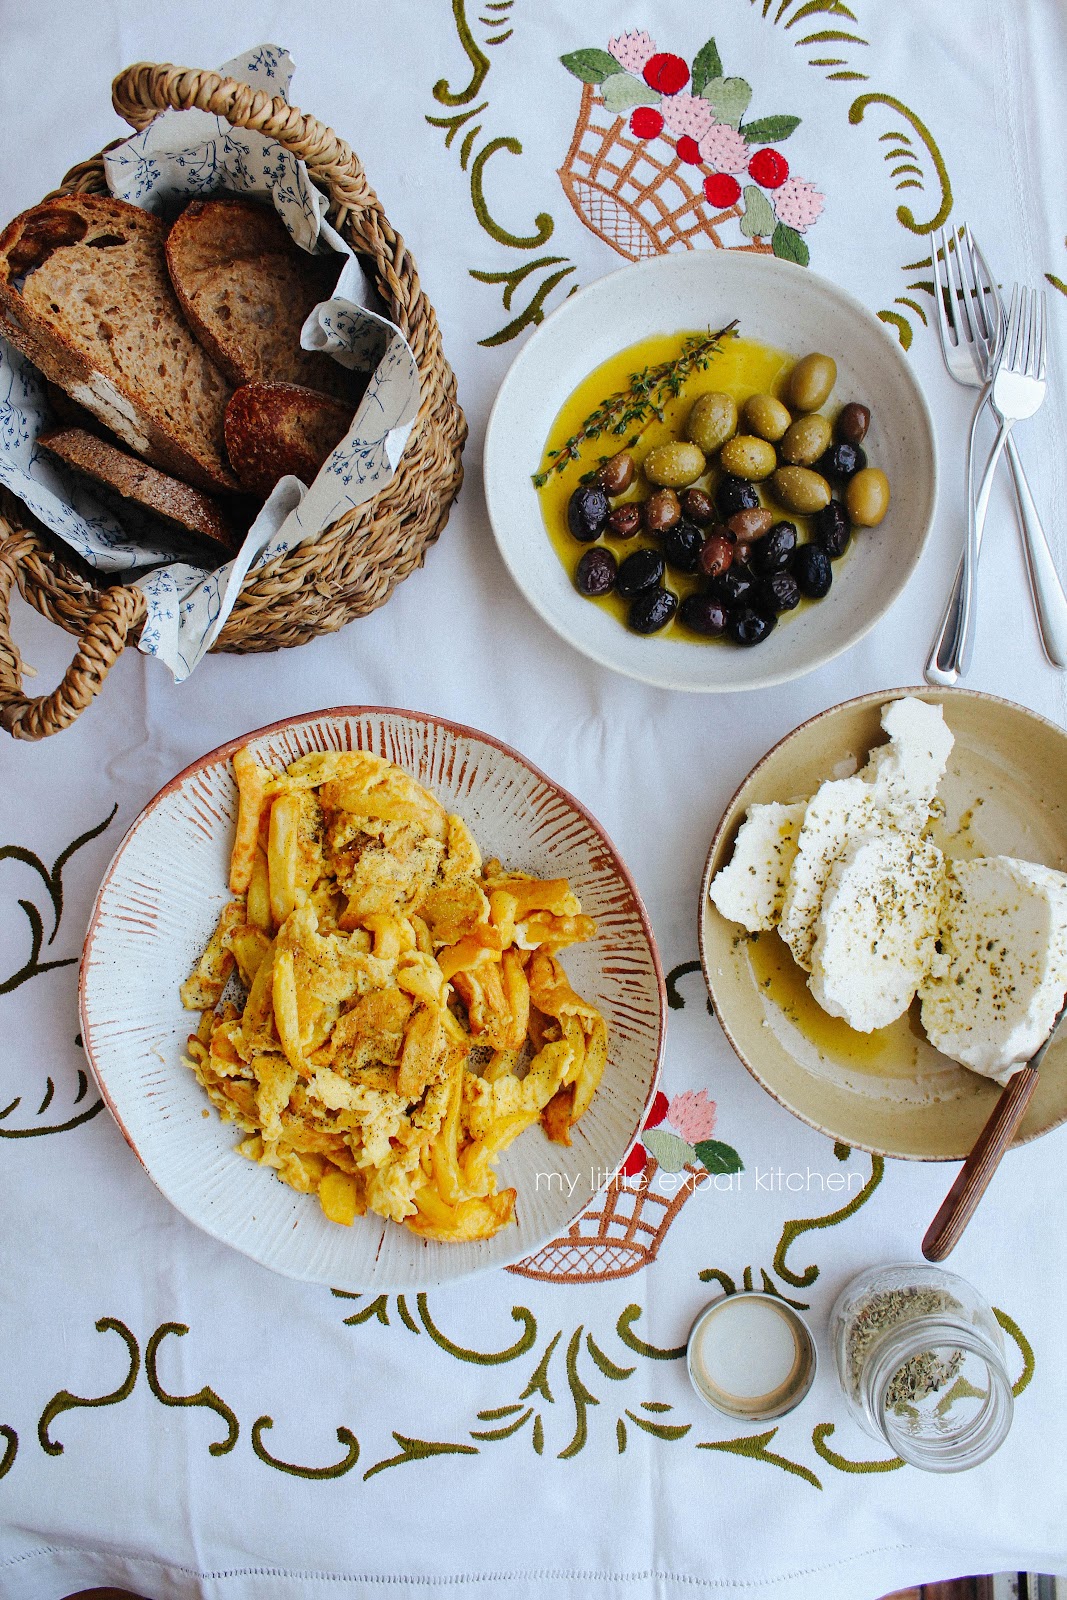
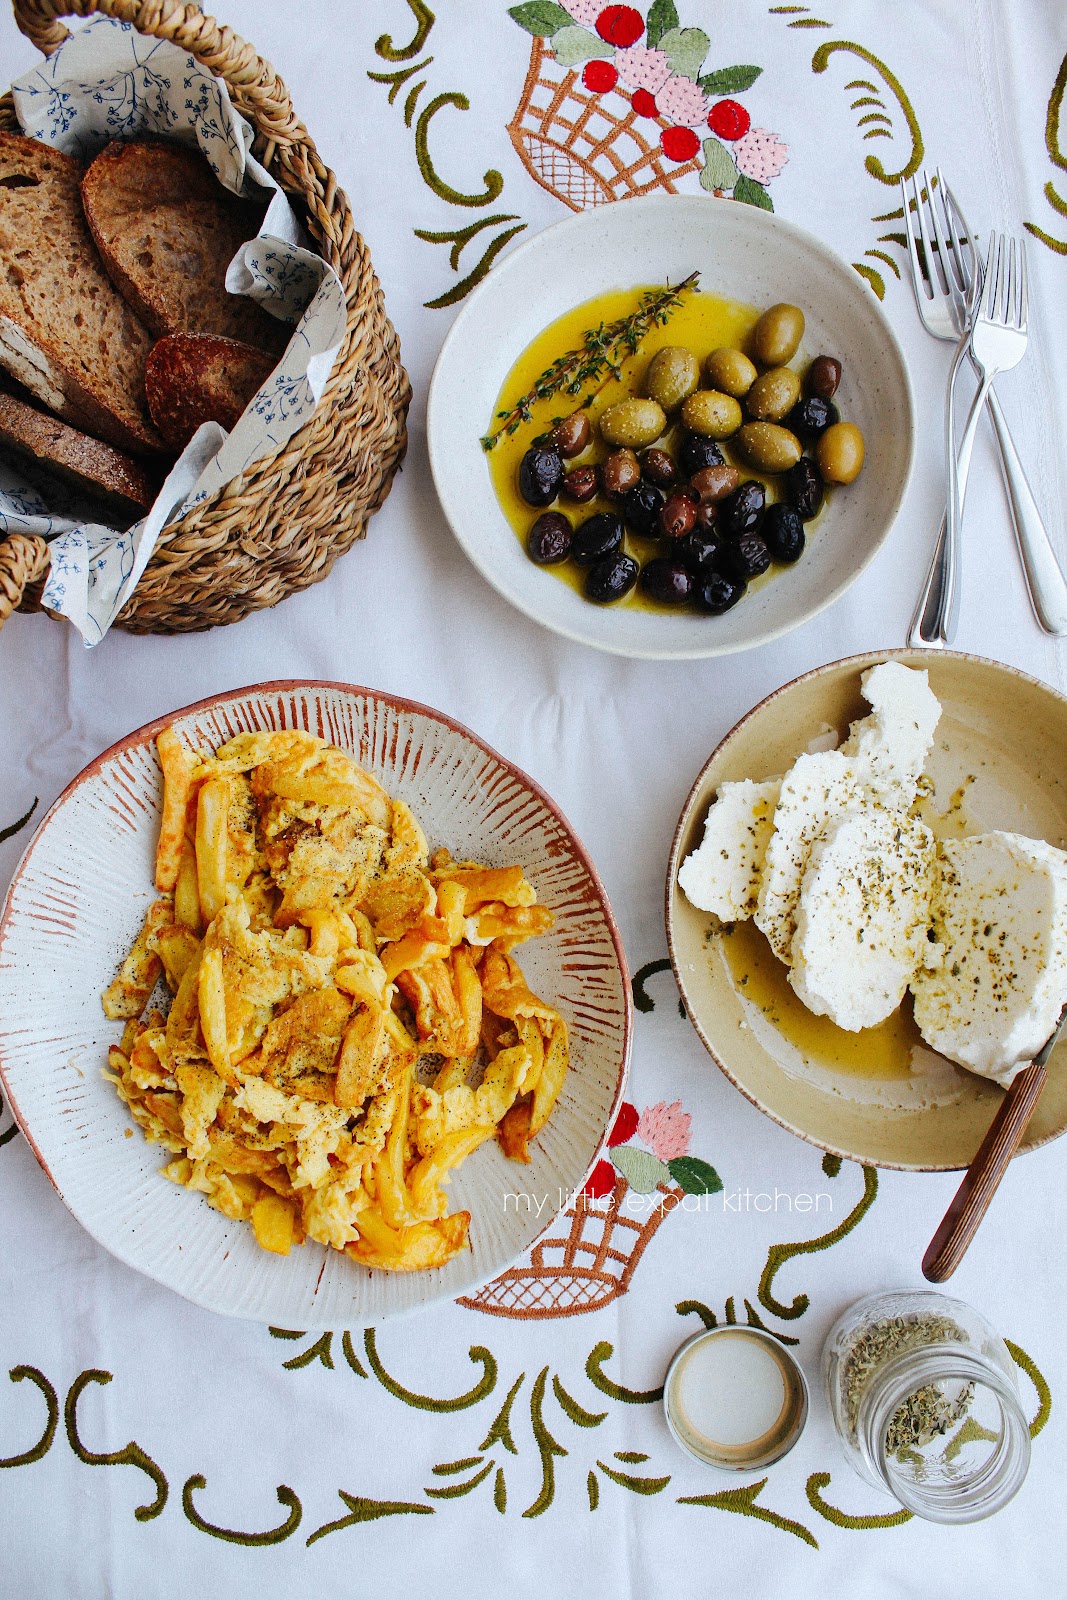
Empty everything into a large plate, add some salt and pepper if needed and enjoy immediately.
I served the dish here with an assortment of olives that I had marinated, Greek soft mizithra cheese and sourdough bread.